Nikon D810 for Wedding Photography
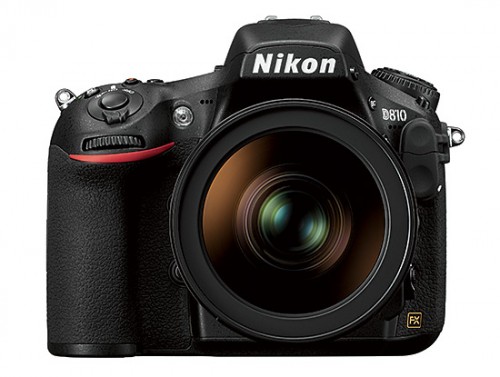
If you weren’t already aware, Nikon’s newest DSLR, the Nikon D810, was just released on July 18. For the announcement history, features, sample images and other current D810 posts, you can search Photography Life’s archives. When I saw the camera’s features, a few of them got me immediately excited. I don’t consider myself to be a photographer who has gear lust and must always have the newest camera body, regardless of how incremental the improvement may be. With that being said, as soon as it was announced I simply knew that I had to get the D810. Why? I’m glad you asked.
1) What features am I excited about?
As a wedding photographer, I have specific needs and demands for my cameras that other types of photographers might not have. If I had created a wish list of features I’d want my next camera body (current body is the D800) to have before seeing the specs of the D810, the D810 pretty much checked off almost every item on that list. So, what features am I most excited about?
Better autofocus performance
Faster image processing
Larger image buffer
Quieter shutter
Expanded ISO range
Of course, there are many other improvements and new features that should prove to be useful to many types of photographers (you can read about all of them here), but as a wedding photographer, these are the ones that I’m most excited about.
2) First impressions
If you’re used to a D800, the D810 looks and feels almost exactly the same. The one big difference that I noticed immediately is the grip. It feels more substantial and comfortable. The biggest change is at the bottom of the grip where your bottom two fingers go.
After playing with it for a few minutes, other subtle changes start to appear. The viewfinder display is a different color, more of an LED white than LCD yellow. It’s definitely brighter and easier to see. The viewfinder also seems a bit brighter. The screen is beautiful and has great color. Scrolling through images feels a little faster. All subtle changes, but definite improvements over the D800.
Of course, it’s one thing to sit on my couch and play with a camera and an entirely different thing to actually take a camera out and shoot a wedding with it. So that’s what I did.
3) Comparing the D810 to the D800 for wedding photography
In the two years that I’ve owned my D800, I’ve used it to photograph 68 weddings, not to mention many events, headshots and portraits. I’d be willing to bet that I’ve had that camera in my hand for over 1000 hours. So after spending so much time with the D800, how does the D810 compare?
3.1) Overall feel and use
The basic use of the D810 feels exactly like the D800. For me, there was zero learning curve. I was able to pick it up and dive right into shooting a wedding with it the next day.
How does the new grip feel? It’s great! I had less hand fatigue at the end of the night than I normally do after shooting a wedding with my D800. It also just feels more substantial. I definitely approve.
The difference in screen quality is subtle but very nice. Viewing images at 100% seems clearer with better contrast and more vibrant, accurate colors. It’s nothing that will blow you away when you see it, but if you compare the screens side by side, you’ll notice it.
I noticed a few interesting things while reviewing images. First, the facial recognition doesn’t seem to notice most faces. I had entire groups of people, including most of the family photos, where not a single face was recognized. I like to quickly scroll through peoples faces at 100% to check focus in group photos. This just wasn’t happening on the D810. Because of that, I had to manually navigate from face to face in the photo with the directional pad. After all of that navigating, I realized that in-photo navigation is slower on the D810 than the D800! It’s not painfully slow, but it’s definitely a bit slower than I’m used to.
3.2) Autofocus
One of the biggest areas of improvement I want out of a new camera body is in low-light autofocus performance. I often found the D800 hunting and failing to lock focus at dimly lit wedding receptions when I was shooting without a flash and only using ambient light. Shooting moving subjects in the dark is a difficult situation for any camera to handle, but my hopes were high for the D810, which uses the D4s autofocus system.
How did the D810 do? Amazing. I had far fewer times during the reception when the camera failed to lock focus and significantly fewer soft images, both during the reception and throughout the day. Focus was fast and accurate for dancing, low-light, backlit situations and normal lighting conditions.
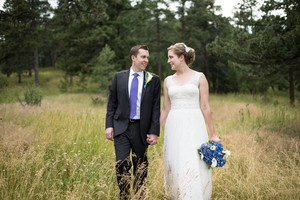
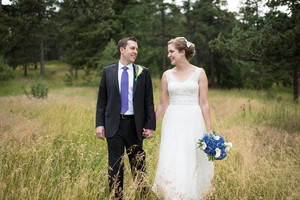
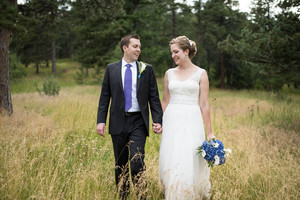
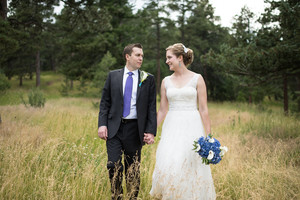
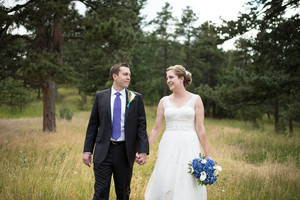
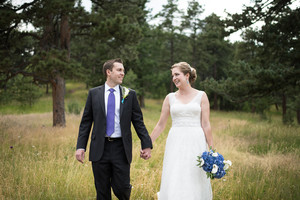
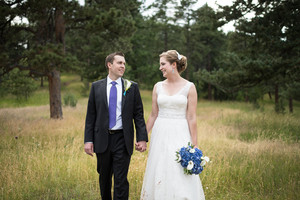
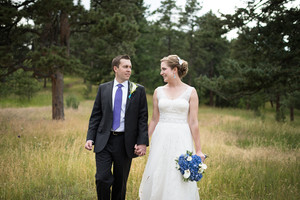
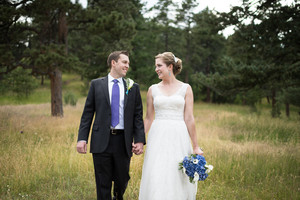
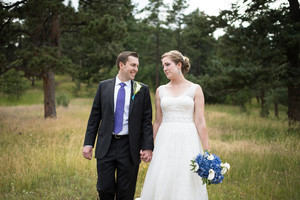
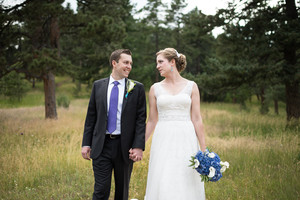
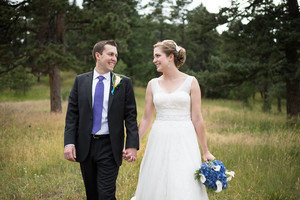
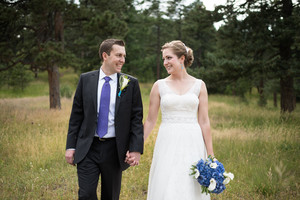
Even more impressive to me was the focus tracking. When I’m working with just the couple, at some point I usually have them walk towards me while I walk backwards taking photos. To really give the D810 a workout, I decided to shoot at f/1.4. That’s right, I was shooting a moving subject while I was walking backwards (on the side of a mountain, no less) at f/1.4. How did it work? With the camera set to group area AF-C and using a 35mm f/1.4G, I was able to shoot a series of 23 images and, I kid you not, every single one was in focus. That’s a game changer.
During the first dances, I switched between spot focusing and group area AF, both with great results. The group area AF was better at tracking a dancing couple, but I found I couldn’t really choose who it focused on, so even though it constantly tracked the couple and kept them in focus, sometimes it was someone’s back that was in focus instead of their face. To make sure people’s faces were in focus, I changed to spot focusing. In this mode it was a little slower to lock focus on a moving target, but still performed much better than the D800 ever did.
3.3) Image processing and buffer
The D800 produces such large files, once the buffer is full it can take quite a while to write all of the images to the memory card. If you backup your images to the card in the second slot as you shoot, it doubles that write time. Anything that can speed up that process, from faster memory cards to a faster processor, is a welcome upgrade.
I typically only fill up the D800 buffer once per wedding and that’s during the recessional when the couple walks down the aisle after being married. I shoot a burst of images, trying to capture that perfect moment of just-married happiness. Unfortunately, my buffer usually fills up after about 22 images. At 4fps, that’s only 6 seconds worth of walking!
I wasn’t able to shoot many images at the recessional, as the aisle was quite short, but I was able to do a few long bursts of images while working with the couple. As I mentioned above, I shot one burst of 23 images with no problem. After that, I had my couple do it again so I could shoot at a safer aperture than f/1.4. I ended up shooting a burst of 30 images the second time and still didn’t fill up the buffer. For anyone who likes to shoot bursts of images with the D800, this should be a big deal!
3.4) Shutter noise
I tend to shoot weddings with a lot of Canon 5D Mark III users, but I never really noticed how loud the D800′s shutter is until I was shooting with another D800 user. Most of the time, I can’t really hear the 5D Mk III shutter so I don’t think anything about it. It wasn’t until I shot with another D800 user and could hear every. single. photo. that she was taking that I realized it’s not a very quiet camera!
On Saturday I shot with another 5D MkIII user. When I found myself shooting side by side with her, I’d say that the D810 is as quiet as the 5D MkIII, if not quieter. No longer did I worry about shooting next to guests during the ceremony and affecting their experience. It’s a wonderfully quiet shutter for a DSLR and, after shooting a wedding with it, I am much happier about it than I thought I would be.
3.5) ISO performance
When it comes down to it, who wouldn’t want another stop of clean high ISO performance? With the D800, I’d fairly regularly shoot at ISO 3200 and sometimes even ISO 6400. With the D800 at ISO 6400, I expect noise and plan to convert the image to black and white.
As you can see in the image below that I shot at ISO 6400, there is still good image quality with nice detail retention. I didn’t really get a chance to shoot a lot of images at ISO 6400 or higher, but even after just working with a few high ISO images, I think I’ll be comfortable shooting the D810 at ISO 6400 when necessary.
3.6) Other miscellaneous observations
Nikon has finally caught up with Canon in the image review category! I’ve been jealous of my Canon friends’ ability to quickly scroll through hundreds of photos on their camera while I had to zoom out to a bunch of tiny thumbnails and slowly, painfully navigate through them until I found what I was looking for. The D810 fixes that! Now we can change the frame advance to 10 or 50 frames at a time. How? Just go into Custom Setting f9 (Customize Command Dials) and change the Sub-dial frame advance to 10 or 50!
On a related note to the image review, thumbnails are generated so much more quickly than on the D800! If you happen to zoom out to the smallest thumbnail option, you don’t have to wait forever for all of them to be generated. In an informal test, the D810 seems to generate thumbnails about twice as fast as the D800 does.
The screen, although improved over the D800, is the exact same size. That means that if you have an extra screen protector for your D800, it will fit on the D810 as well. The first thing I did when I got my D810 (even before setting the clock) was to put on a new Expert Shield screen protector that was made for a D800. It fit perfectly.
Battery life is definitely improved. I decided to put it to the test and used one of my old batteries, not the brand new one that came with it. I was able to shoot 1978 images and still have 3% battery life left! On my D800, that battery would have probably needed to be changed out around 1400 images.
4) Sample images
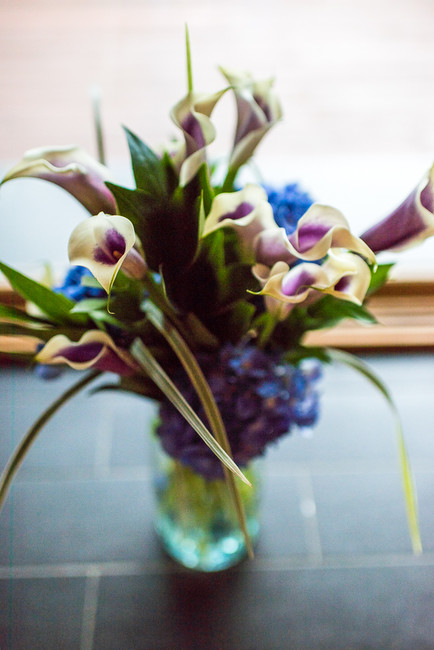
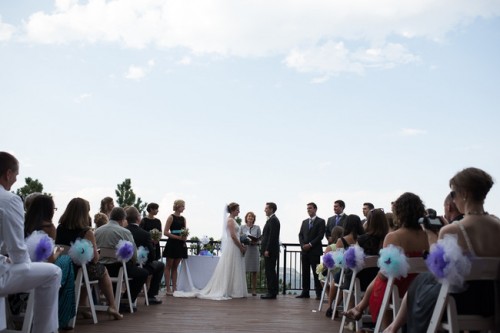
All of these images were converted to DNG with the Adobe DNG Converter 8.6 RC and processed in Lightroom 5.5. Please keep in mind that Adobe’s RAW support is preliminary and is quite poor, as observed by Nasim in his D810 vs D800 ISO comparison. I converted images to DNG format, because I wanted to edit my images in Lightroom without breaking my workflow. Sadly, even the DNG converter does not seem to work right – Adobe stripped out all the camera profiles in Lightroom! So I am really hoping that Adobe will soon release a much improved RAW converter and new version of Lightroom, so that I could get the best out of my NEF files.
Simple adjustments were made with the Exposure/Shadows/Highlights/Whites/Blacks sliders as well as some dodging and burning (and maybe a slight straighten). All images are intended to display what the Nikon D810 is capable of and do not necessarily reflect what I would deliver to a client.
First up, here is an image of some flowers that I completely underexposed:

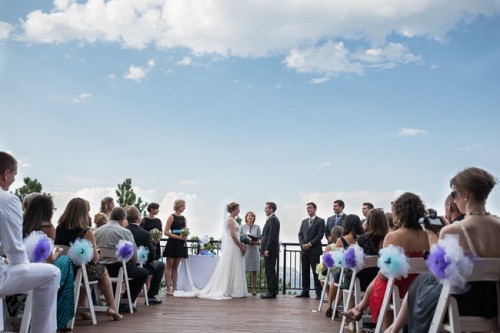
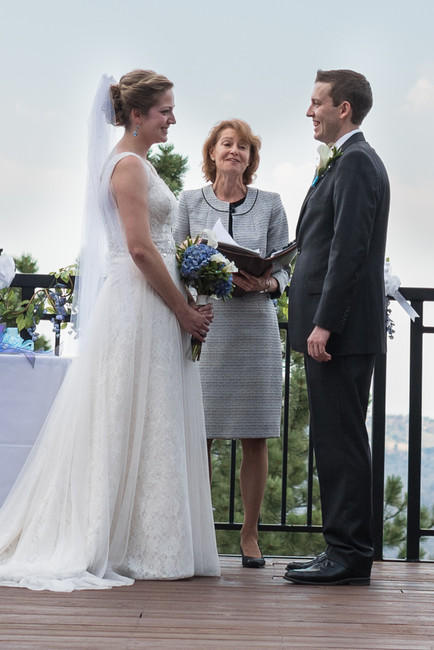
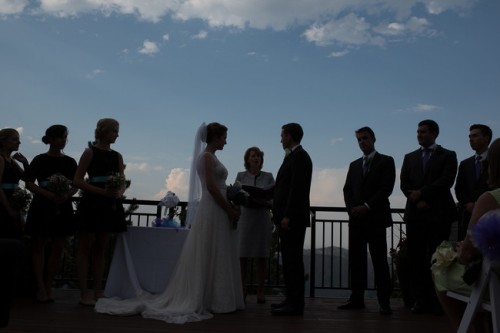
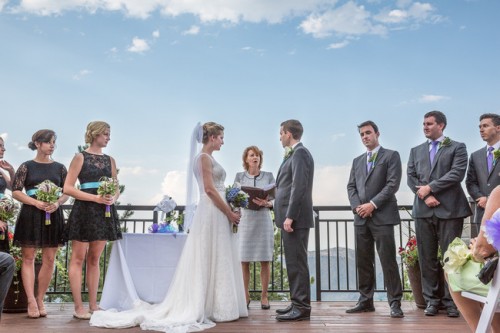
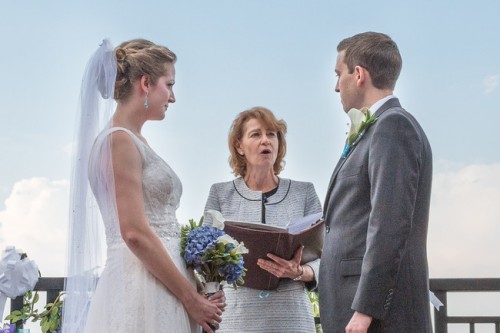
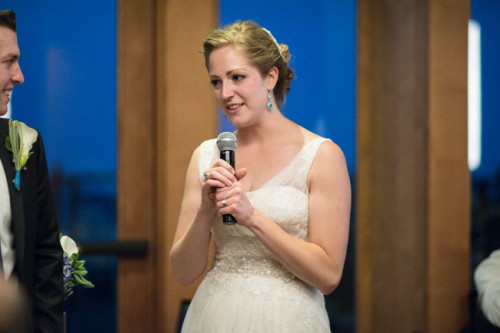
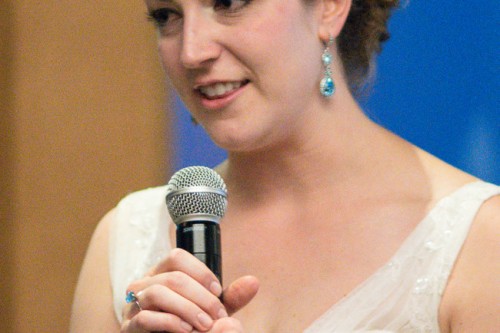
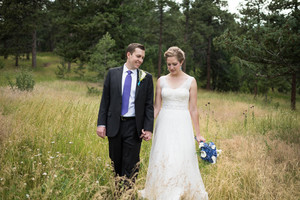
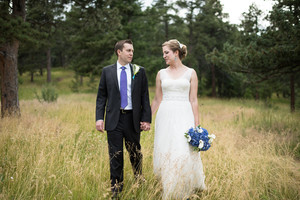
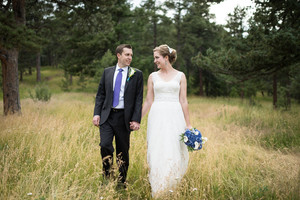
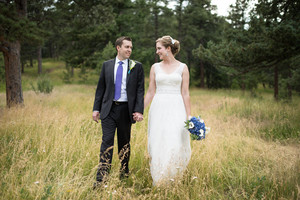
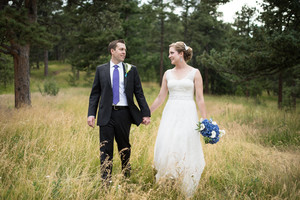
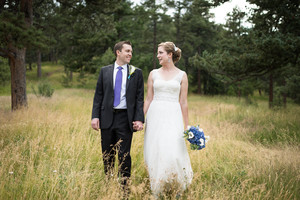
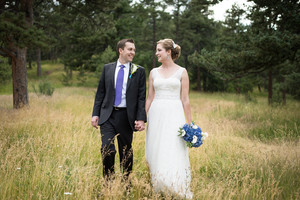
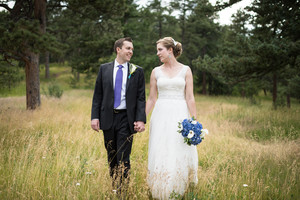
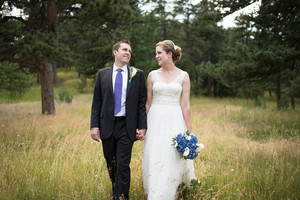
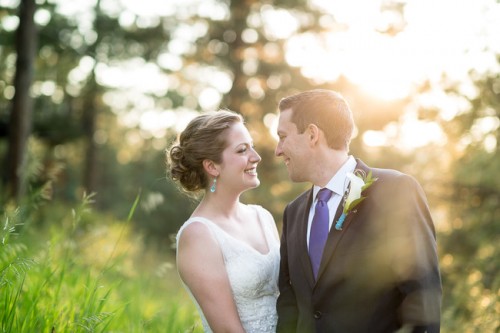
I’ve seen some comments asking why someone would upgrade from the D800 to the D810. You won’t get a significant (or even noticeable) increase in image quality, so why spend the money? For me, it’s not so much about the increased image quality, but the increased image potential. Let’s look at how much potential is gained shooting with the D810 vs the D800:
Expanded ISO: Being able to squeeze more out of a dark reception can be a big deal! Also, knowing that you can expose for the highlights and still have plenty of information to work with in the shadows can greatly increase creativity and final image quality (dynamic range appears to be better).
Better AF: The D800′s low-light autofocusing has always been a small source of frustration for me. For example, when shooting with ambient light during the first dance, I feel like I often miss moments due to soft focus or failure of the camera to lock focus. Having a top of the line AF system should help to nail more shots in tricky light. Also, having the best AF tracking system should provide more keepers when shooting motion (recessional, dancing, walking, etc…)
Larger Buffer and Faster Processor: As I mentioned, I rarely shoot to fill the buffer, but when I do, there is absolutely nothing I can do until it starts to empty. That means any photo-worthy moments that might happen with a full buffer are simply not going to be captured. If the D810 can hold more images in the buffer and write them to the memory card faster than the D800, the likelihood of missing a moment while waiting for the camera is drastically reduced.
Sharper Images: No OLPF filter means sharper images compared to the D800. I was afraid of seeing moire in images, but it looks like it is not an issue for weddings, as I cannot find a single image with visible moire so far.
After photographing a wedding with the D810, I can say without hesitation that it is a worthwhile upgrade from the D800. The D800 is by no means a bad camera. It’s an amazing camera that I’ve proudly used to photograph countless important moments over the past few years. As a wedding photographer though, the improvements that have been made to the D810′s autofocus system, ISO capabilities, buffer size and image processor are significant enough to warrant purchasing this “minor” upgrade. The improved grip, shutter, screen, viewfinder and battery life are just icing on the cake.


.gif)
