How to Install GIMP On A Portable Device
Posted: September 23rd, 2021 ˑ Filled under:
GIMP Tips 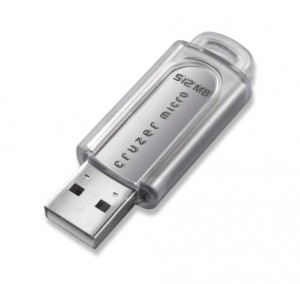
One of the great things about GIMP is its portability. Small and agile, GIMP is easily loaded on a USB thumbdrive or even ‘digital film’, then taken with you for easy use on any PC (yes, I’m afraid I’m only talking about the Windows version here). Typically only requiring less than 30MB of space and featuring many of the tools photographers need for photo editing, Gimp is an excellent choice for the on the go photographer. If you’ve read this far and are still wondering what GIMP is, take a look at the post GIMP – An Introduction.
Installing GIMP Portable is very easy:
Step 1 – GIMP Portable can either be downloaded as part of the large PortableApps suite, or individually. To keep things simple, I’m going to explain just the GIMP portion. The download files can be found on PortableApps.com’s website here. Save the file to a recognizable location on your PC, such as the desktop. You’ll need this location in a couple steps.

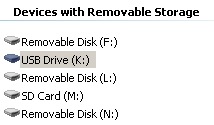
Step 2 – While the files are being downloaded, insert your USB device or media card. In this case, my device will be drive K: but yours will likely be different. Note this drive letter for later use.
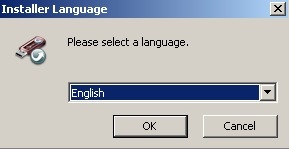
Step 3 – Find the file you downloaded in step 1 and double click it to start the install process. First, select your preferred language, then click OK.
Step 4 – On the following screen, click Next and then Next again. Now the installer will ask where you wish to install GIMP. Click Browse and select the drive from step 2 then click OK.
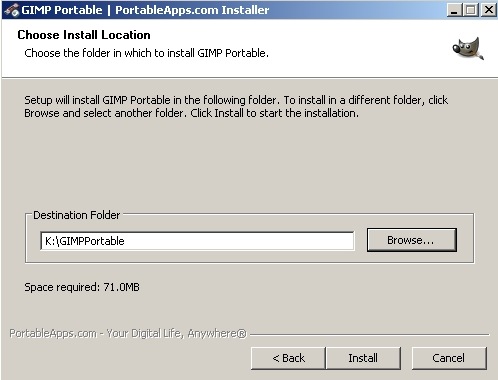
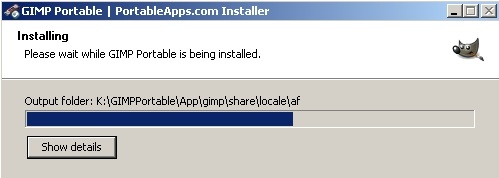
Step 5 – The installer will now extract and install all the needed files to your portable drive. Depending on the device and speed of your USB port, this process will take a few minutes.
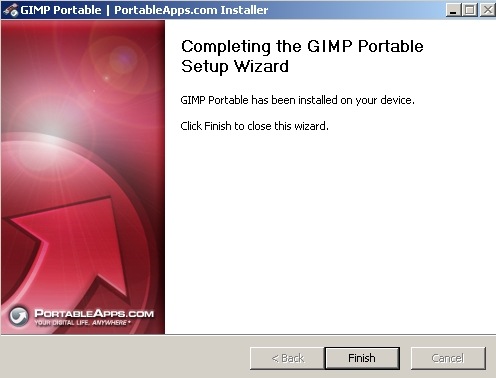
Step 6 – When all goes well (oh yes, all will go well for you) there will be a completion screen much like this one.
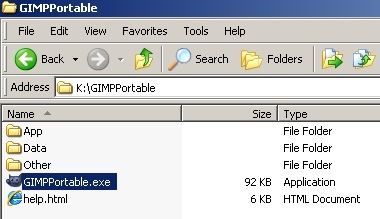
That’s all there is to loading GIMP Portable! To start the program itself, go to My Computer and look for the drive letter from step 2. Double click that drive and then double click the folder GIMPPortable. In that folder you will find a very clean install of GIMP with the main executable file named GIMPPortable.exe. Double clicking the file starts GIMP.
The first time GIMP Portable is run, it will take a bit longer than normal to start. But subsequent starts will be fairly quicken if fast media is used.
And there you have it! A portable version of GIMP to take with you where ever your photo editing needs may carry you. DPS currently has a growing library of handy tutorials featuring GIMP, including How to Find and Use Scripts in Gimp, How To Replace A Sky In GIMP, How To Remove Red Eyes With GIMP and How to Add ICC Profiles In GIMP.


.gif)


