How to Brighten Eyes in Photoshop
This Photoshop tutorial is for brightening people’s eyes and making them pop in portraits.
Eyes represent the soul of a person. They tell our story and are capable of magically transferring our emotions to the viewer. Good photographers know the importance of being able to capture people’s inner feelings through their eyes, which is why they always strive to highlight the eyes by bringing them into complete focus. While as human beings we are quite used to looking at people’s eyes while communicating to them, it doesn’t always work the same way in photography. Sometimes there is just too much distraction in the picture and other things to look at that we would not even notice in everyday life. Whatever it is, these distractions move us away from the real story of the subject, getting us lost in insignificant details.
Fortunately, there are some simple tricks in Photoshop that can help to bring the viewer’s attention back to the subject’s eyes. In this quick tutorial, I will show you how to brighten your subject’s eyes and make them “pop”.

Open the image in Photoshop. If you are in Lightroom, simply right-click the image and click “Edit In”->”Edit in Adobe Photoshop”.
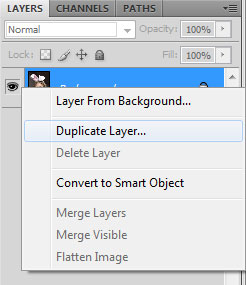
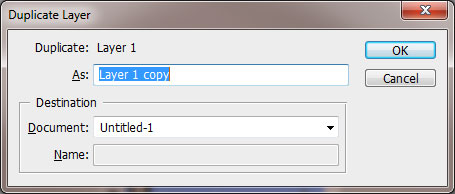
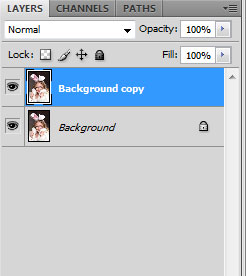
Right-click on the background layer and select “Duplicate Layer”.
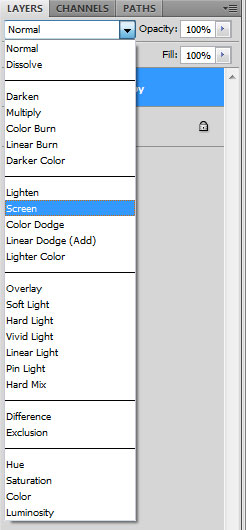

Select the paintbrush and make sure that the color is set to pure white.
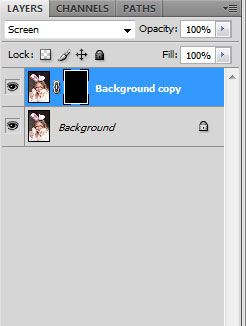
With 100% opacity, your image should look like the image below.

Once you are done with the opacity, press CTRL+E to merge the layers.
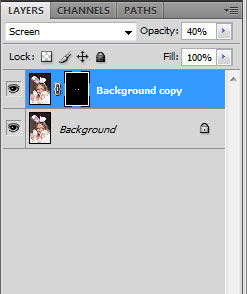



.gif)


