Finding and Achieving Your Style in Lightroom

The key is to think about what you want to achieve with your processing. That’s not always easy, but you may find it useful to start by thinking about the following aspects. Your answers will help determine the approach you take.
Colour
Do you want a bright, colourful image or a desaturated one? Perhaps you’d even like to work in black and white. If you are working in colour do you want the colour to be accurate, or your photo to be predominantly warm or cool toned? The decisions you make about colour will have a big impact on the direction you take once you get to the Develop module in Lightroom.
Tonal values
Do you want a light image, or a dark one? High contrast or low contrast? Some of this will be determined when you take the photo. For instance, if you decide you want to create a portrait with a dark background, then ideally you would make sure that the background is dark in the first place. But, there are ways of making backgrounds darker that mean you can change the look of a photo quite dramatically in Lightroom if you wish. There’s an example of that later, keep reading.
General feel
Do you want your photo to be conservative or edgy? Modern or maybe nostalgic, vintage or retro? These concepts may feel a little hard to pin down, but again they will help determine the path you take in Lightroom. If you want to create an image with a nostalgic feel, then how does that affect your approach to colour? Or to contrast? How would it be different if you decided to go for a modern look instead?
Portraits
With photos of people, do you want them to look stylized or natural? Are you interesting in capturing character or beauty? Or maybe even both? Do you want your subjects to be sexy or sensual, or asexual? Do you want them to be casual or fashionable? Again, some of these concepts are somewhat airy, but thinking about them will help you work out what approach to take in Lightroom.
Please note that you don’t have to think about all of these aspects. For most most photos, you will probably only have to consider two or three . Here are some examples:
Example 1: Portrait with dark background
The inspiration for this approach came from looking at the work of photographers like Tom Hoops, who use dark backgrounds to great effect in their portraits.
The first example is a portrait I took of a girl standing in the doorway of a concrete bunker. The light is coming from her left.
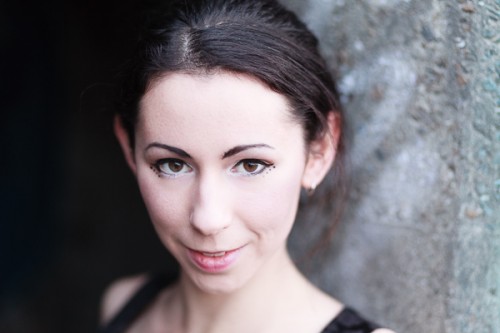
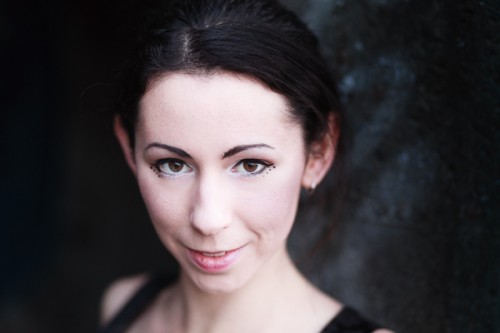
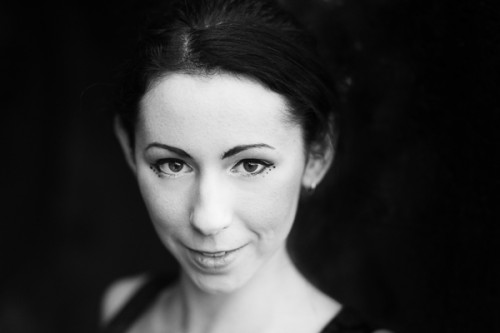
The logical extension of this thought process is to convert the image to black and white and make the background even darker. I also increased Contrast in the Basic panel and applied Clarity to the model’s eyes with an Adjustment Brush to make them stand out more.
I took this close-up photo in a market in Shanghai, China.
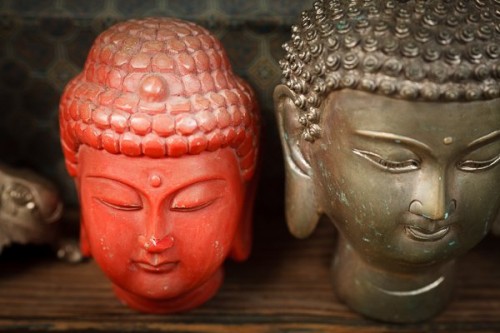
To achieve the nostalgic look, I used the Temp slider to make the photo warmer, and reduced the saturation of the colours with the Vibrance and Saturation sliders. I increased Clarity and Contrast to bring out the texture, and added a vignette using the Radial Filter. The dark shadows this creates add a sense of mystery.
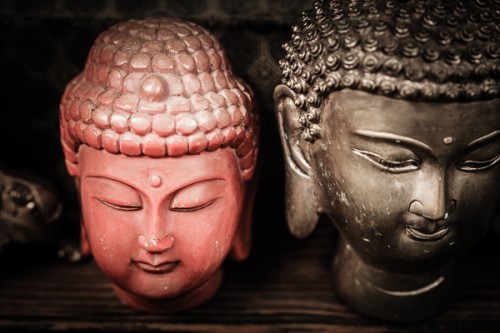
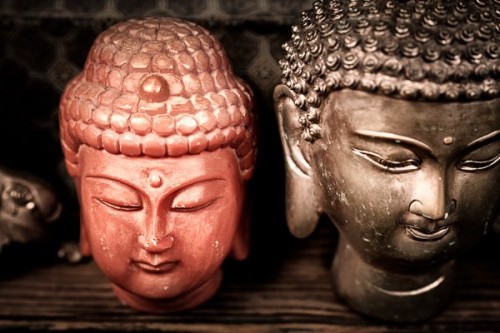
How about seeing how far I can push the idea of bringing out the texture and reducing colour saturation? Nik Software’s Viveza2 has some excellent tools for this. See the resulting image below.
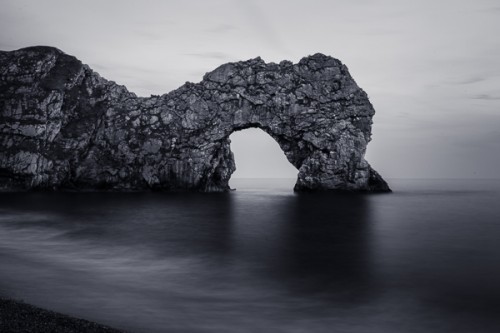
Finally, here’s a landscape that I took one evening using a shutter speed of 30 seconds. The light is flat and dull, and there is a strong blue colour cast.
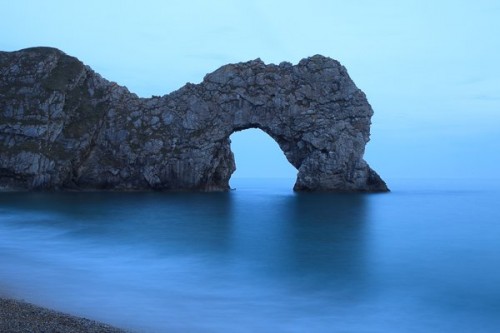
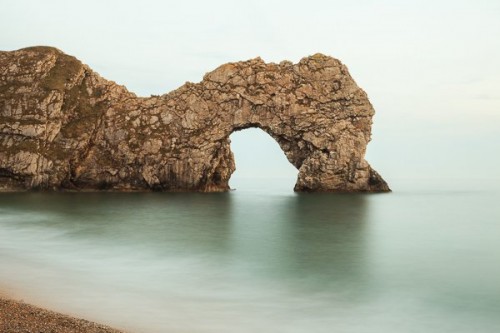
A darker, monochrome version with a blue tone to evoke the atmosphere of the blue hour when the photo was taken. I applied more Clarity to the rock arch, beach and water to enhance the texture and contrast in these areas, then added a vignette with the Radial Filter.



.gif)


