3 Uses for the Radial Filter Tool in Lightroom 5
One of the most powerful new tools in Lightroom 5 is the Radial Filter tool. Here are a few examples of how you can use this tool creatively inside your workflow to help draw attention to your subjects. If you don’t have Lightroom5, you can use multiple graduated filters to draw attention, but it’s not as easy, and the results can be hit or miss.
#1 – Off-center vignetting (beginner tip)
Let’s face it, Lightroom’s post-crop vignette leaves a lot to be desired, especially if you want your vignetting effect to be applied a bit off-center, allowing you to draw focus towards your subject.
Let’s look at an example and see how the radial filter tool compares to the post crop vignetting effect of old.
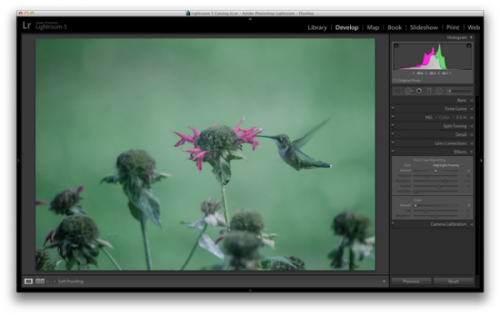
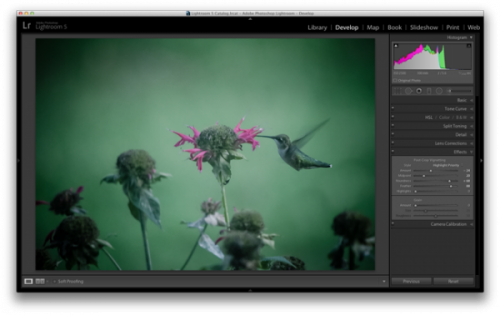
With the post-crop vignetting tool what you’ll immediately notice is that the effect occurs out from the midpoint of the frame ,and there is no way to off-set this midpoint so that you would be able to have a more customized effect.
Enter the Radial Filter Tool…
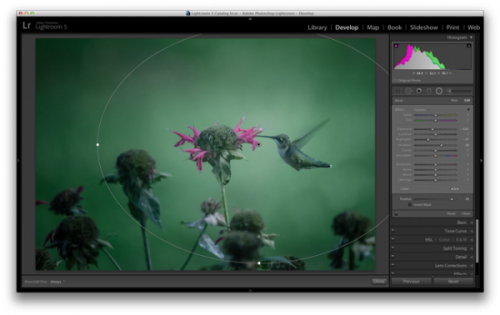
Applying the vignetting effect is going to depend a lot on your own style and the image you are processing, but the three sliders that you will want to typically play around with are: exposure, highlights and shadows. In the photograph above, a strong vignette was applied by dropping both the exposure and highlight sliders down, but the shadows slider was raised slightly to compensate for the drop in the other two just a bit. With that said, this is something that you’ll want to play around with on your own images and find out what works for them and your own personal taste.
#2 – Adding highlights and brightness to draw attention (mid-level tip)
While adding your standard vignette is all fun and great, there’s more power to this tool than that, so let’s step it up a notch and take a look at another way you can draw attention to your subject with a Radial Filter.
Take this rather boring photograph that I snapped while on a hike through the forest for example.
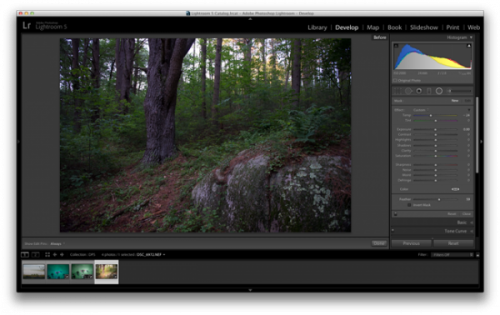
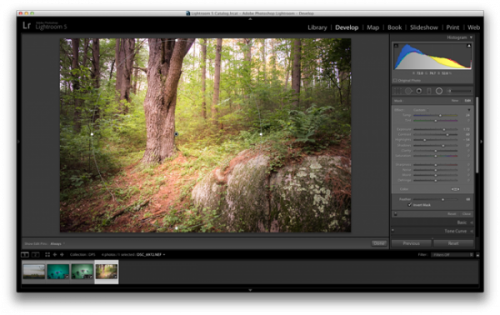
Again, this is another area where artistic choice is left wide open, but you can see how the tool is more powerful than simply a vignette effect creator. You have the power to control more than just the brightness of the edges of your frame, as seen above, where there are contrast and temperature adjustments happening inside this filter allowing for a more dramatic look.
#3 – Stacking multiple radial filters for more dynamic results (advanced tip)
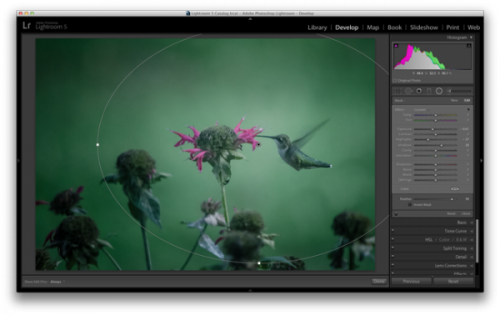
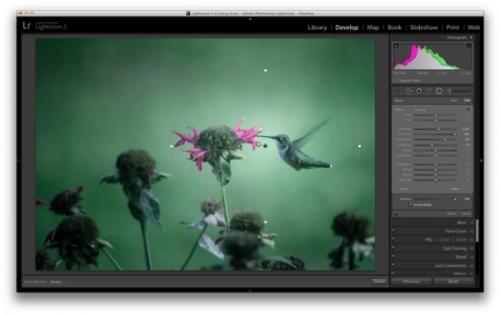
Finally, once you’ve mastered one radial filter, you might try stacking more than one filter to create even more dynamic results. To add a second filter to an image simply click “New” and then click and drag within your image as you’ve done before. Each filter can be controlled and selected individually by clicking on its respective dot (gray for unselected, black for selected). By having individual control over each radial filter you can really start to draw your viewer’s eye where you want it to go.
As an example, let’s look at where I left off on the hummingbird photograph from earlier.


.gif)


